Logitech G29 / G923
540 degrees - FFB 60, Centre spring 10
Gear-driven base: keep FFB moderate to avoid notchy clipping. TrueForce on the G923 adds road texture - drop vibration scale to ~30 so it does not double up.
Wheel settings
The goal is to feel grip loss and recover slides. Start from these in-game ranges, then jump to the per-wheel starting points below for Logitech, Thrustmaster and Fanatec bases.
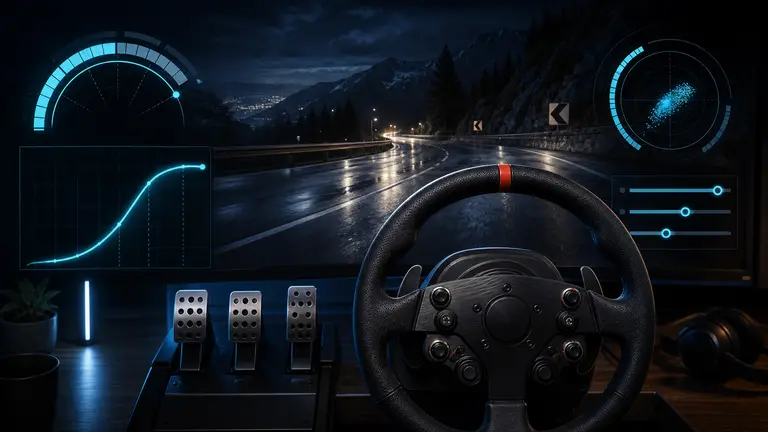
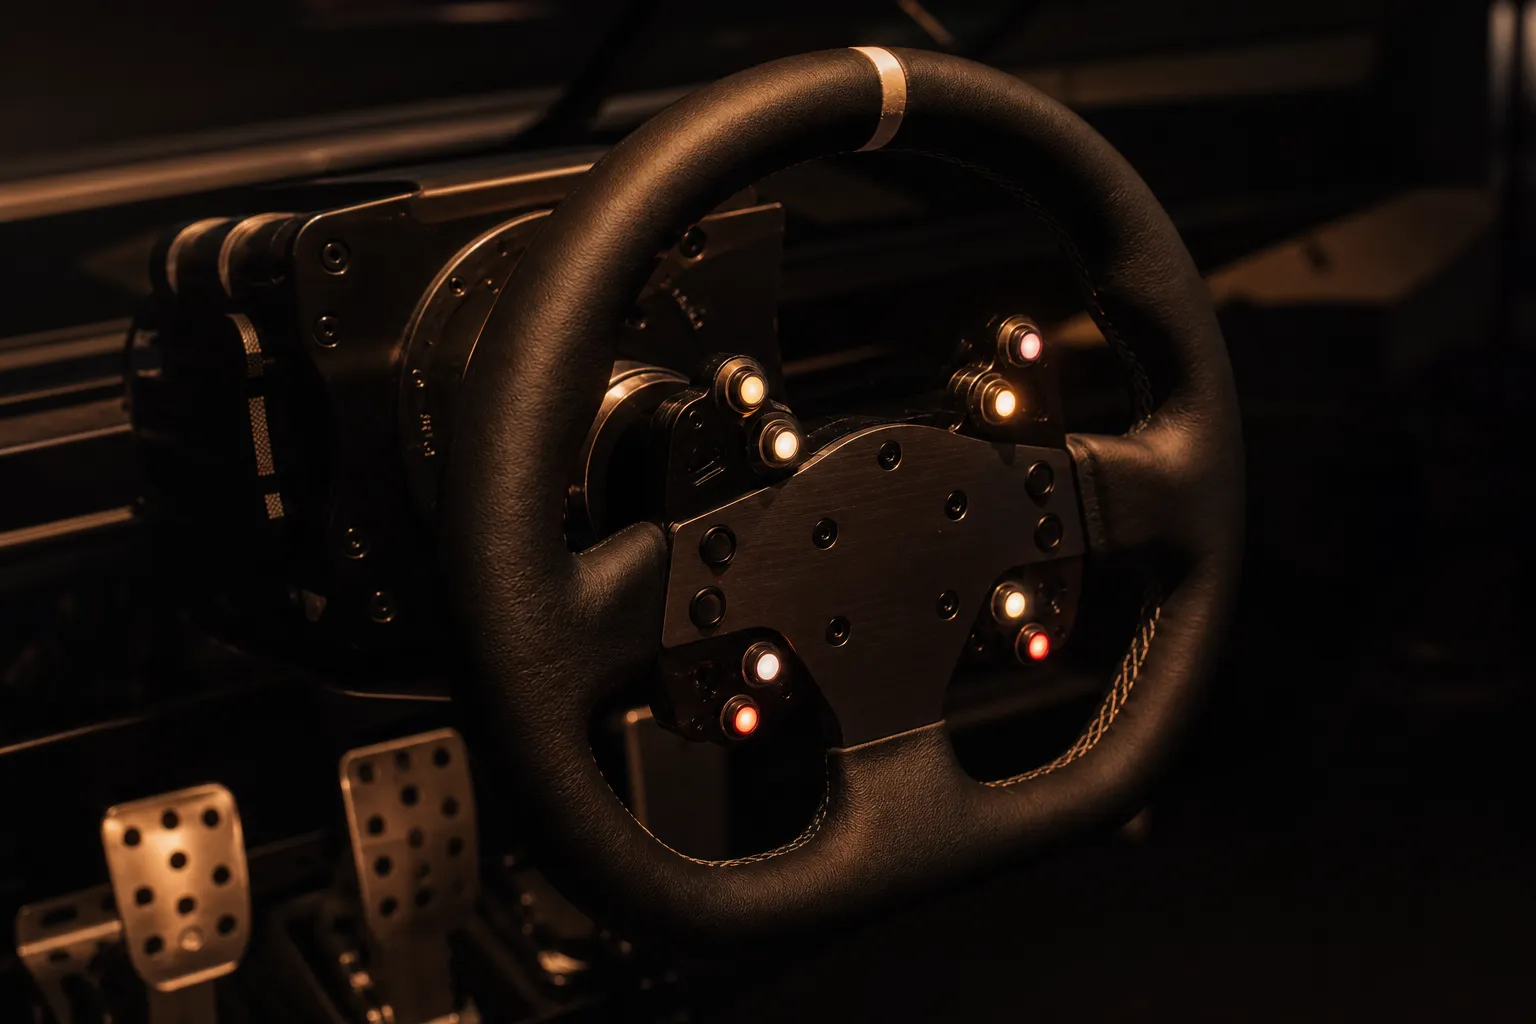
Open Settings - Controls - Advanced Controls while a wheel is connected; FH6 only shows the wheel-specific options (force feedback scale, centre spring, vibration scale, steering linearity) when it detects a wheel, not a controller. Steering rotation is usually set in your wheel's driver software (Logitech G HUB, Thrustmaster Control Panel or Fanatec Control Panel) and should match the in-game expectation, so set 540-900 there first.
These are community-reported launch-window baselines, not manufacturer presets. Set them, drive one road and one dirt route, then fine-tune.
540 degrees - FFB 60, Centre spring 10
Gear-driven base: keep FFB moderate to avoid notchy clipping. TrueForce on the G923 adds road texture - drop vibration scale to ~30 so it does not double up.
900 degrees - FFB 55, Centre spring 5
Belt/hybrid drive is smoother, so you can run more rotation. If the T248's hybrid base buzzes at centre, raise the inside dead zone by 1-2.
900 degrees - FFB 45, Centre spring 0
Direct drive is far stronger - start lower in-game and set base torque around 5-8 Nm. Let the base do the detail; over-driving FFB clips fast.
Raise the inside steering dead zone by 1-2 and recalibrate the wheel centre in your driver software before blaming the in-game settings.
Lower the force feedback scale in steps of 5 until the strongest corners stop flattening out - clipping hides grip information.
Drop vibration scale toward 30. On TrueForce/DD bases the base already supplies texture, so high vibration just masks it.
Use the same road section while changing force feedback so your comparison is honest.
Dirt routes expose over-strong force profiles quickly because recovery becomes harder.
Keep a stable profile before experimenting with drift-specific values.